Setting up of Announcement Notifications
Announcement Notification are notifications that you want your customers to see when they visit your website. These could offers and discounts or even promotional announcements.
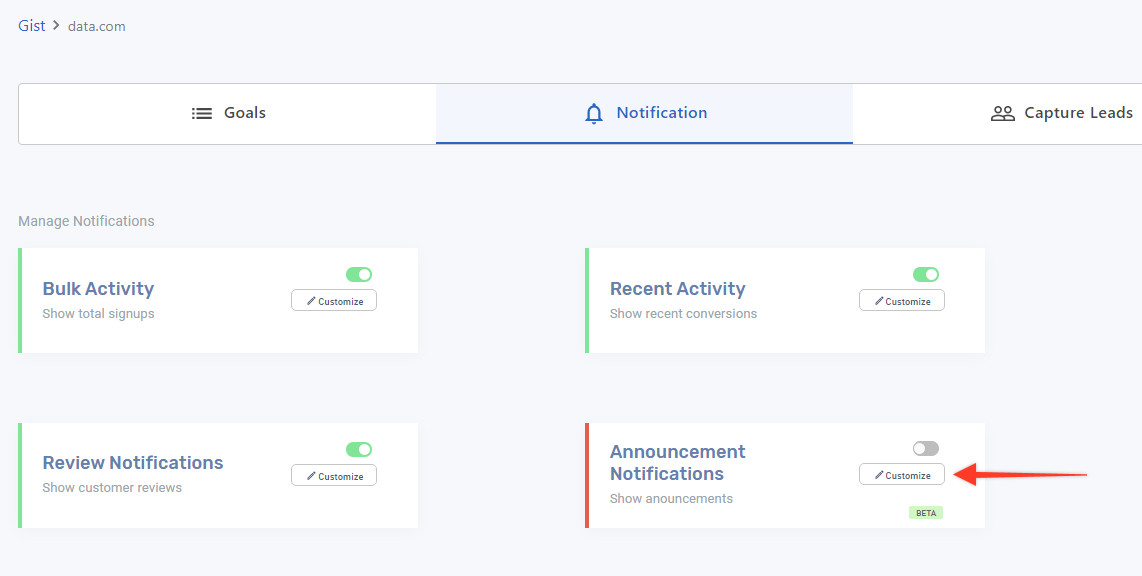
To customize your review notifications you need to click on the customize button as shown below :
On clicking the customize button a side window will open:
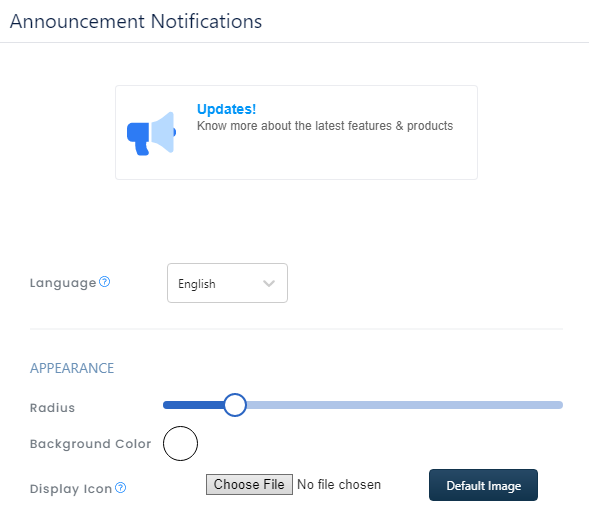
All modifications in respect to Language, Notification size, Font color, Style, Text will be displayed in the preview as shown below:
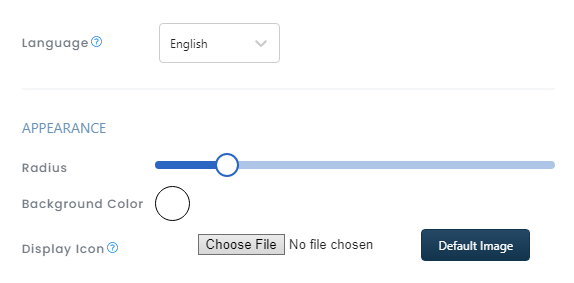
1. Language: if you want to change the language option you can go to the Language selector you can see and convert your notifications to almost 104 languages.
For example, if you change the notification language to Spanish your text will be auto changed to Spanish but the Grammar and sentence structuring might not be in place.
So to make sure that the grammar and sentence structuring is fine, we have given the option to edit the converted language. So you can change the text in Spanish so it makes more grammatical and sentence structuring sense to your website visitors
Appearance: This determines the shape and color of the notification to be displayed on the website.
1. Radius: This determines the shape of the notification appearing on your website. The higher the radius, the more will the notification be rounded on the edges.
2. Background Color: You can choose the background color of your notification from here.
3. Display Icon: You can select your own branding icon or keep the default image for the notification.
Text: You can choose the style of font and color of the text to be displayed on the notification here.
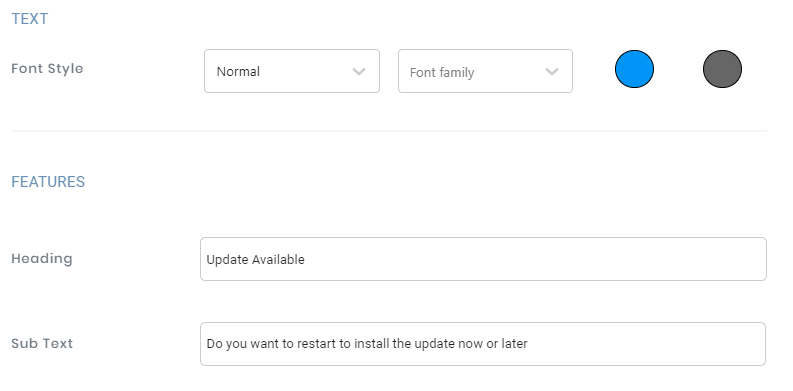
1. Font Style: You can choose the text to be displayed in normal or bold on the notification form here. You can also choose the font style from here. Currently, Influence supports Monospace, Arial and Georgia. The color of the font can also be chosen from here.
The Circles are for choosing the font color.
2. Heading : You need to have a heading of your choice for the notification.
3. Sub-Text : This is what will be displayed in the body of the notification.
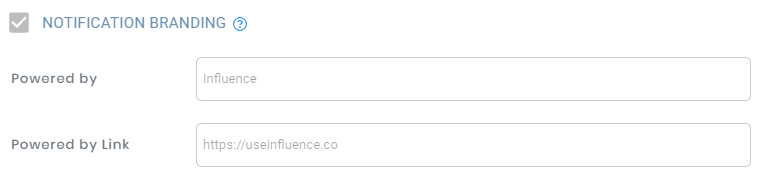
In case you want to remove the Influence branding from your notifications, you need to switch on the "Notification Branding" option and you can customize as per your requirement:
1. Powered by: You can remove Influence and type in your own brand name here.
2. Powered by the link: By default, this is set to Influence website, you need to change this as per your brand.
(Note: These features are available in the advanced plan and beyond)
If you want to make the notification to be clickable so that if the customer clicks on the notification he/she is taken to the desired page, that can be done here by switching on the "Notifications Clickable" option.
You will also be required to mention the URL of the page where you want your customers to go if they click on the notification:

Please do not forget to click the Save button once you have completed customizing the notification.
If you're still facing any issues, then you can contact us through the support section, & we'd be more than happy to assist you with it.