
Adding & Managing Sub-Accounts
For Agency account users, adding Sub-accounts can be done from the Settings Page inside your dashboard.
Adding Sub-Accounts can be done for the purpose of reselling or managing multiple users separately. Agency plan subscribers can "White-label" their dashboard and resell Influence under their own brand-name.
To know more about White-label & CName use this help article:
Getting started with Whitelabel
Follow these below steps to Add a new sub-user (Sub-account owner):
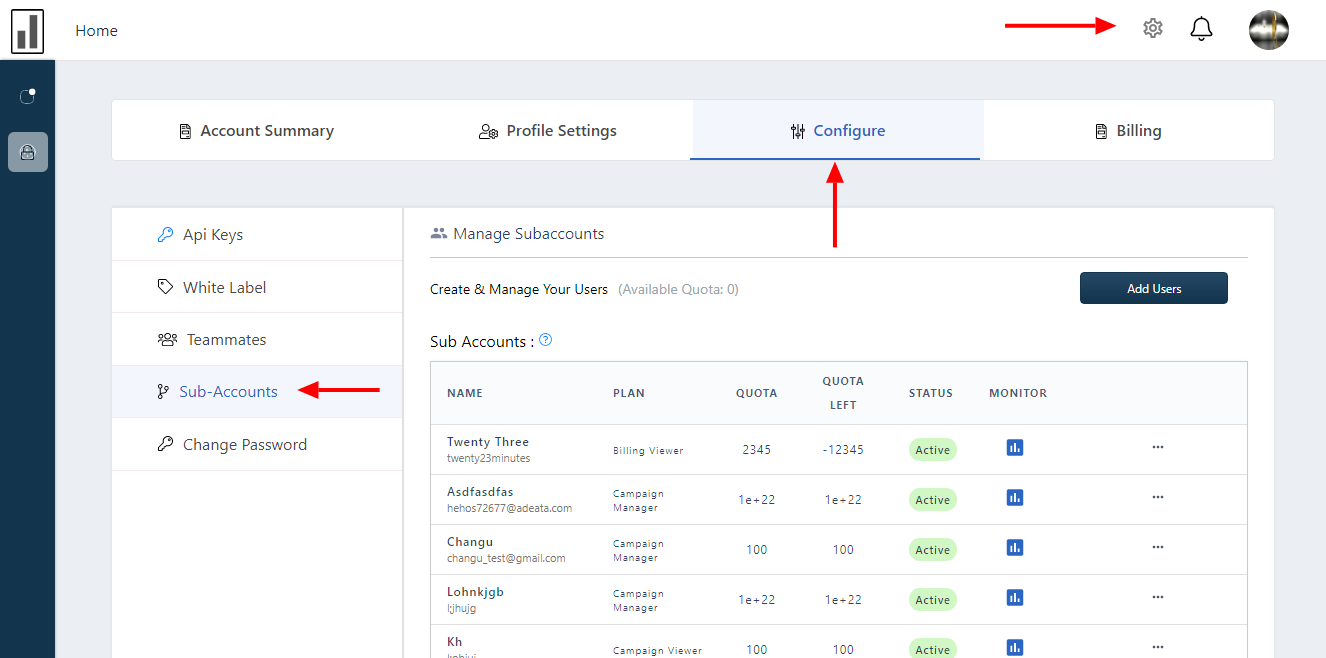
Step 1 - On your Configure Page under the Settings tab from your dashboard
- Click on Sub-Accounts card & go to your Sub-accounts section.
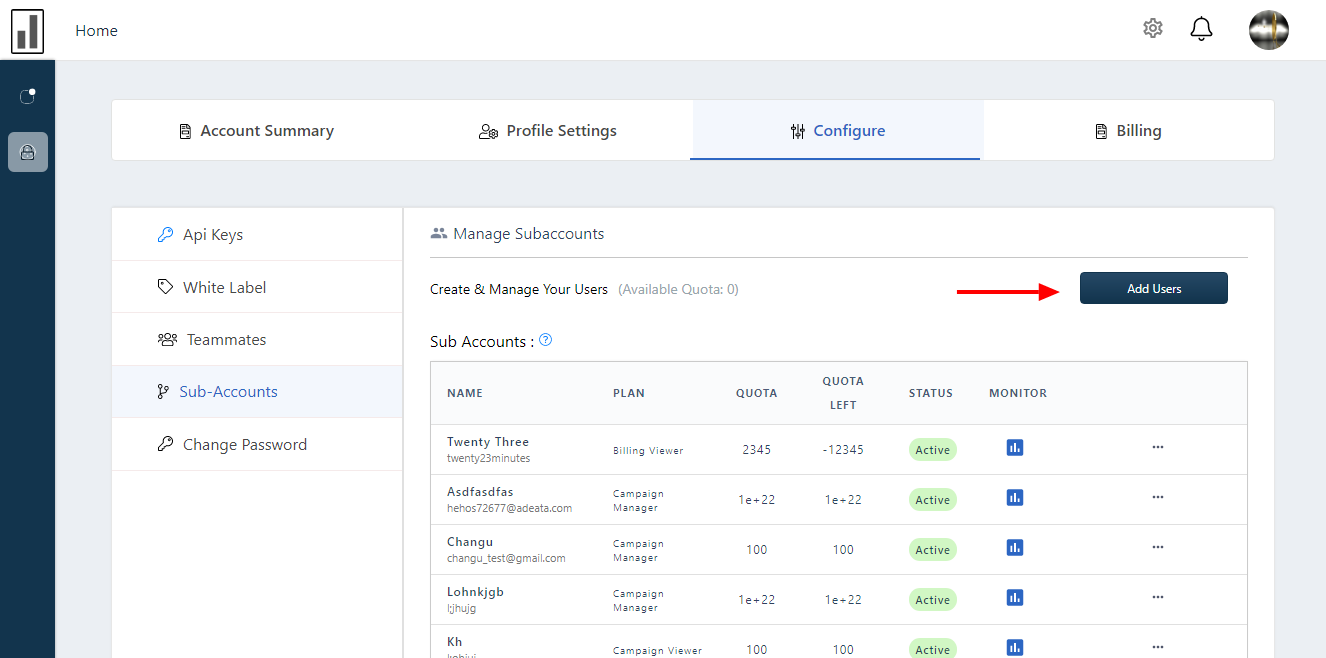
Step 2 - Create Sub-accounts
Click on Add Users button, a modal will open.
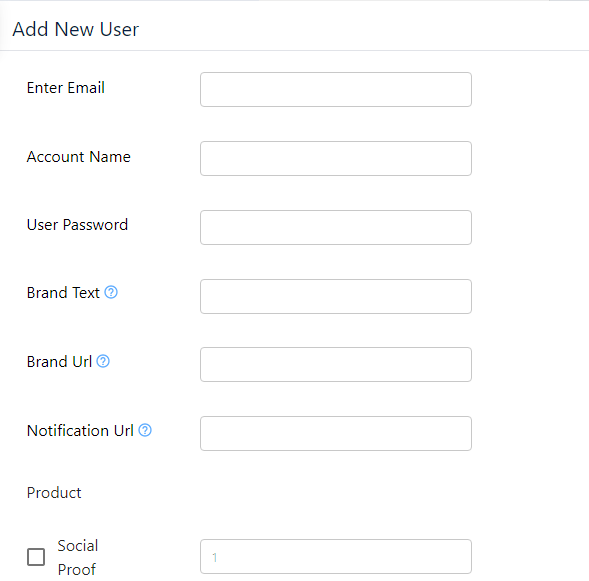
Fill out the all the fields as per below instructions:
- Email Address - input sub-user's email address.
- Account Name - assign any username to that sub-user.
- User Password - assign any password, sub-user can change it manually after it logins.
- Brand Text - Set your Brandname here, this will reflect on your Sub-user's notifications.
- Brand URL - Set hyperlink to the Brandname text which you have put in the previous step.
- Notification URL - Set hyperlink on your Sub-user's notifications. Using this you can redirect Sub-user's traffic as per your requirements.
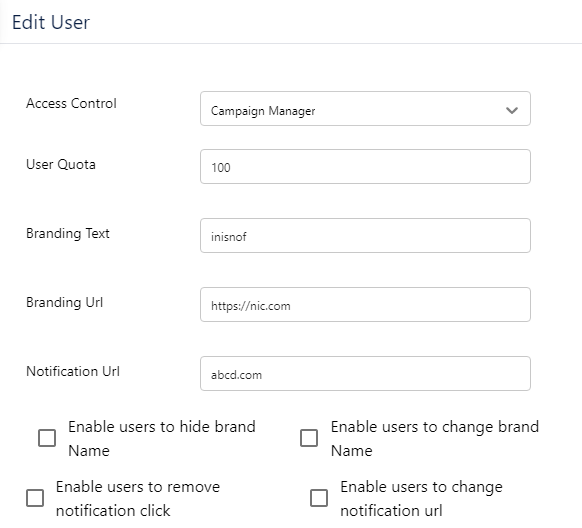
Use Settings option for advance customization :-
If you want to set some more customization for any particular Sub-account then it can be done from the Edit option
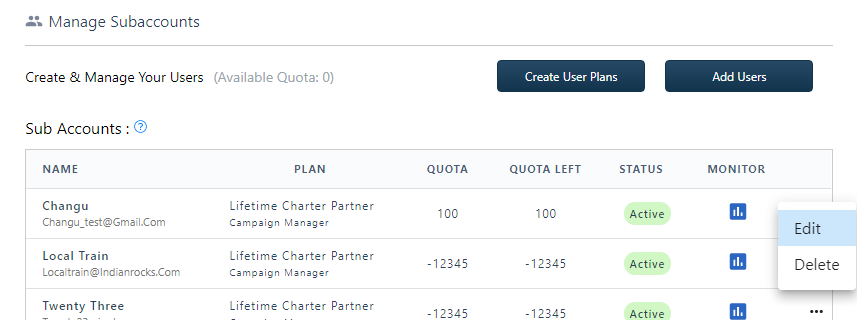
You can change any Sub-user's password or role from here as well. {Changing Sub-user's Role is not recommended}
Some of the customization are:
- Access Control - You can change the access control of the user from here.
- User Quota - You can assign the quota of visitors from here.
- Branding Text - You can change the branding text of the user from here
- Branding URL - You can change the branding URL from here.
- Notification URL - hyperlinking can be changed from here.
- Enable Users to Hide Brand Name
- Enable Users to Change Brand Name
- Enable Users to Remove Notification Click
- Enable Users to change Notification URL
Add multiple Sub-accounts by following the above instructions.
If you're still facing any issues, then you can contact us through the support section, & we'd be more than happy to assist you with it.