
Integrating with Mautic
Your Influence Account can easily be integrated with Mautic with the help of Zapier.
Follow the below mentioned steps to get it done quickly.
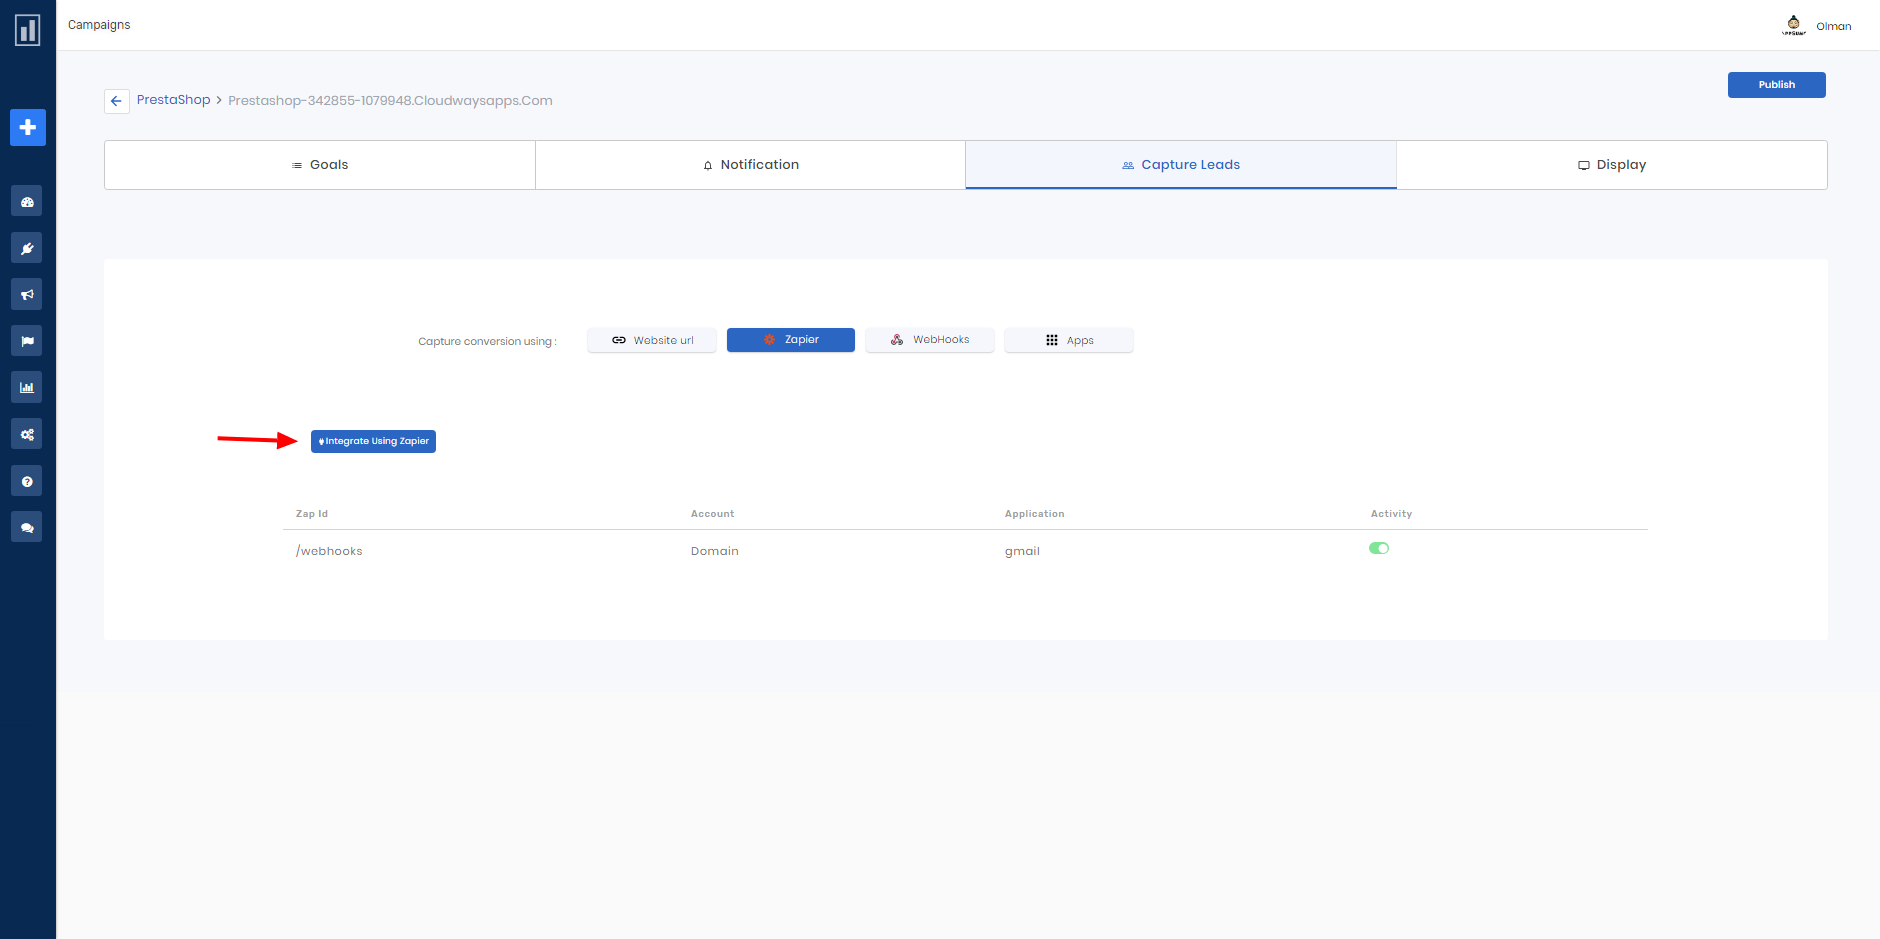
Click on Integrate Using Zapier button from inside your campaign's Capture Page area.
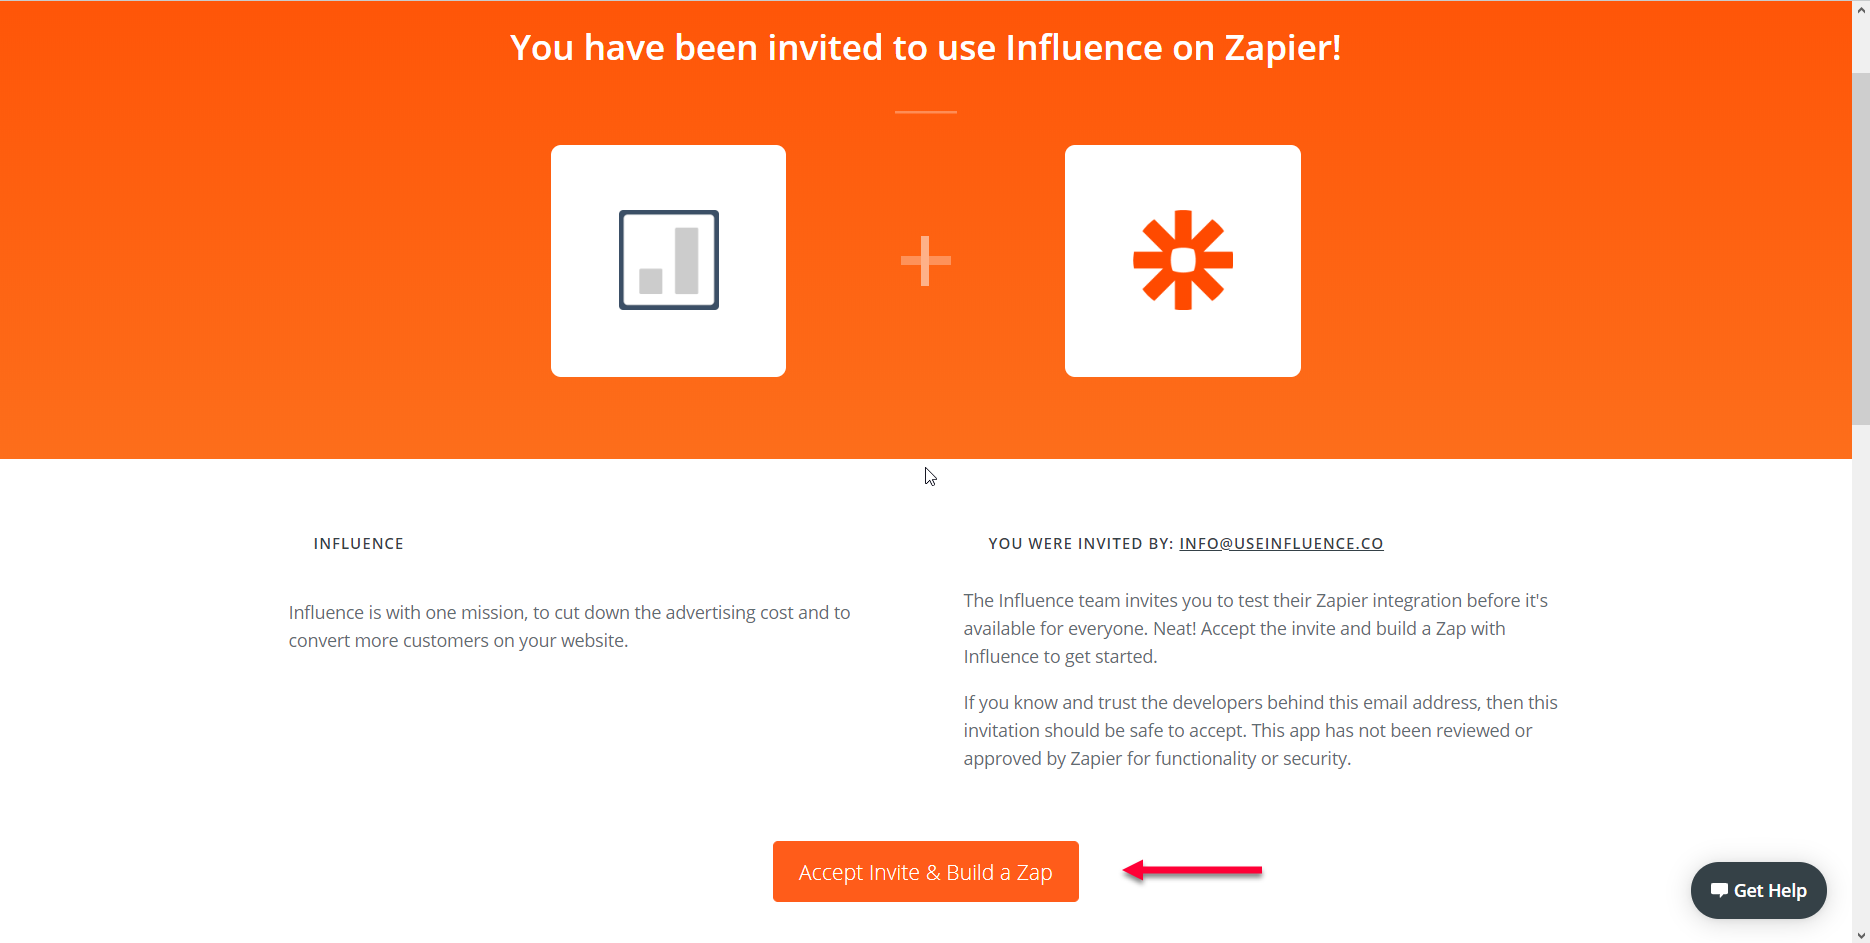
You will be redirected to Zapier website, click on Accept Invite & Build a Zap button.
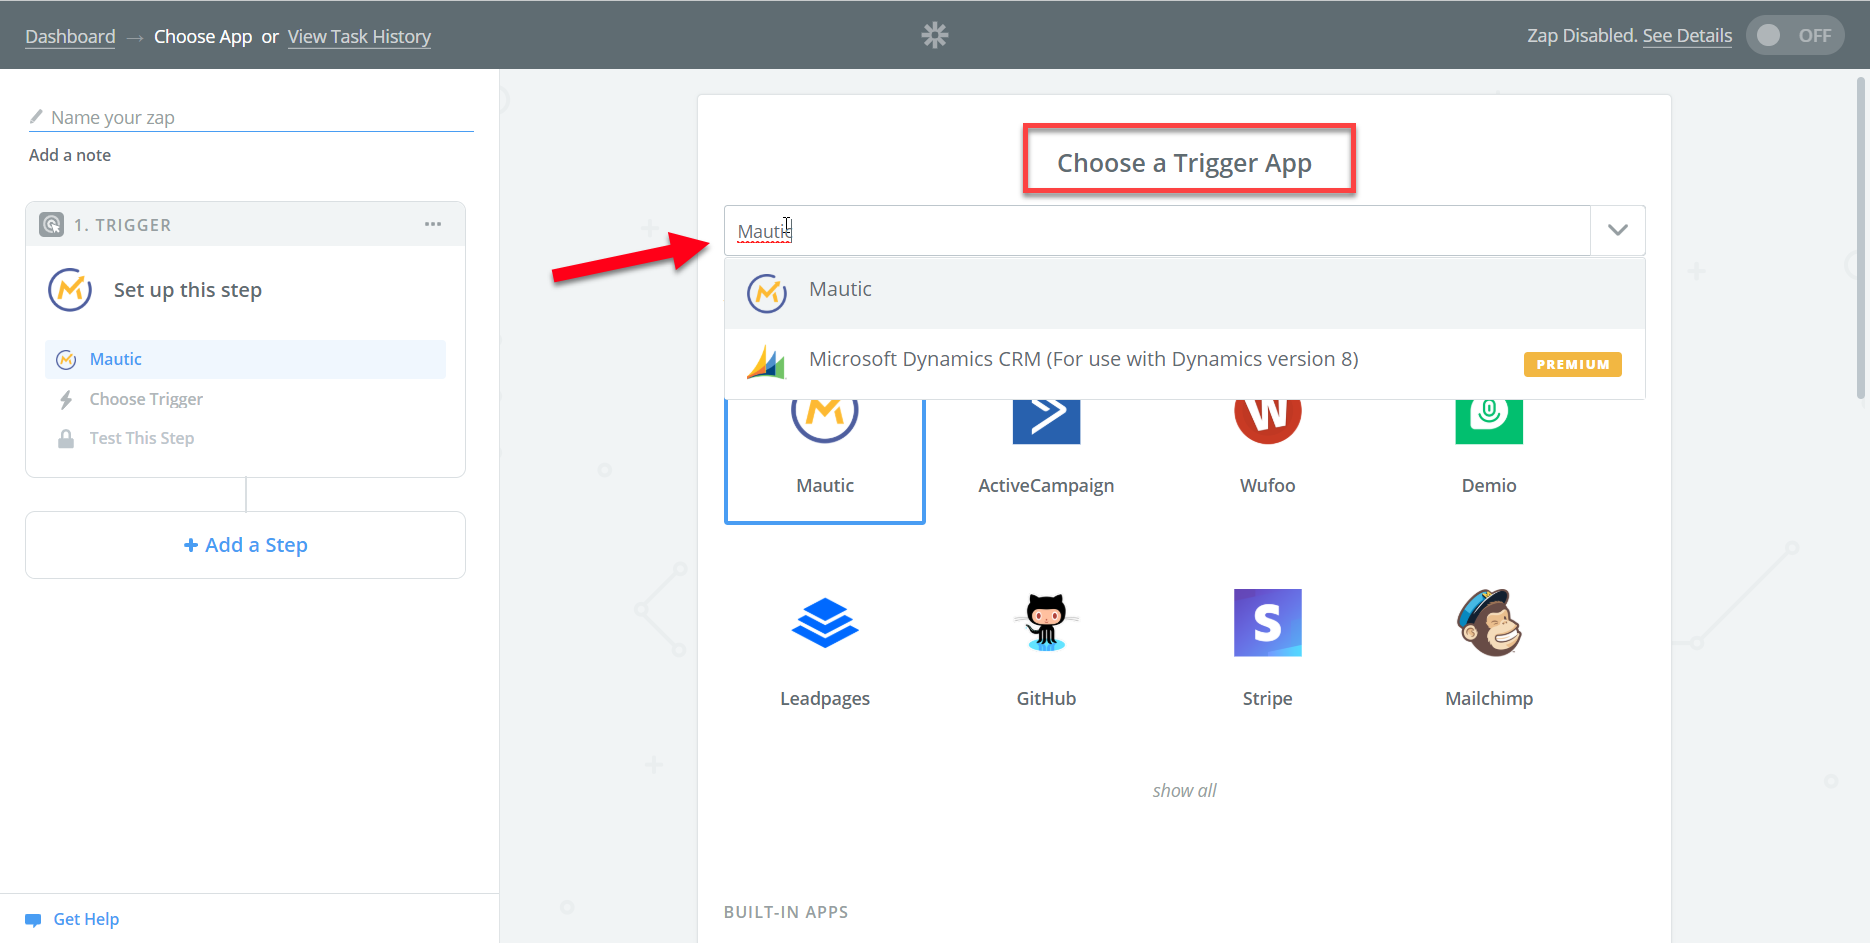
Choose Mautic as your Trigger App.
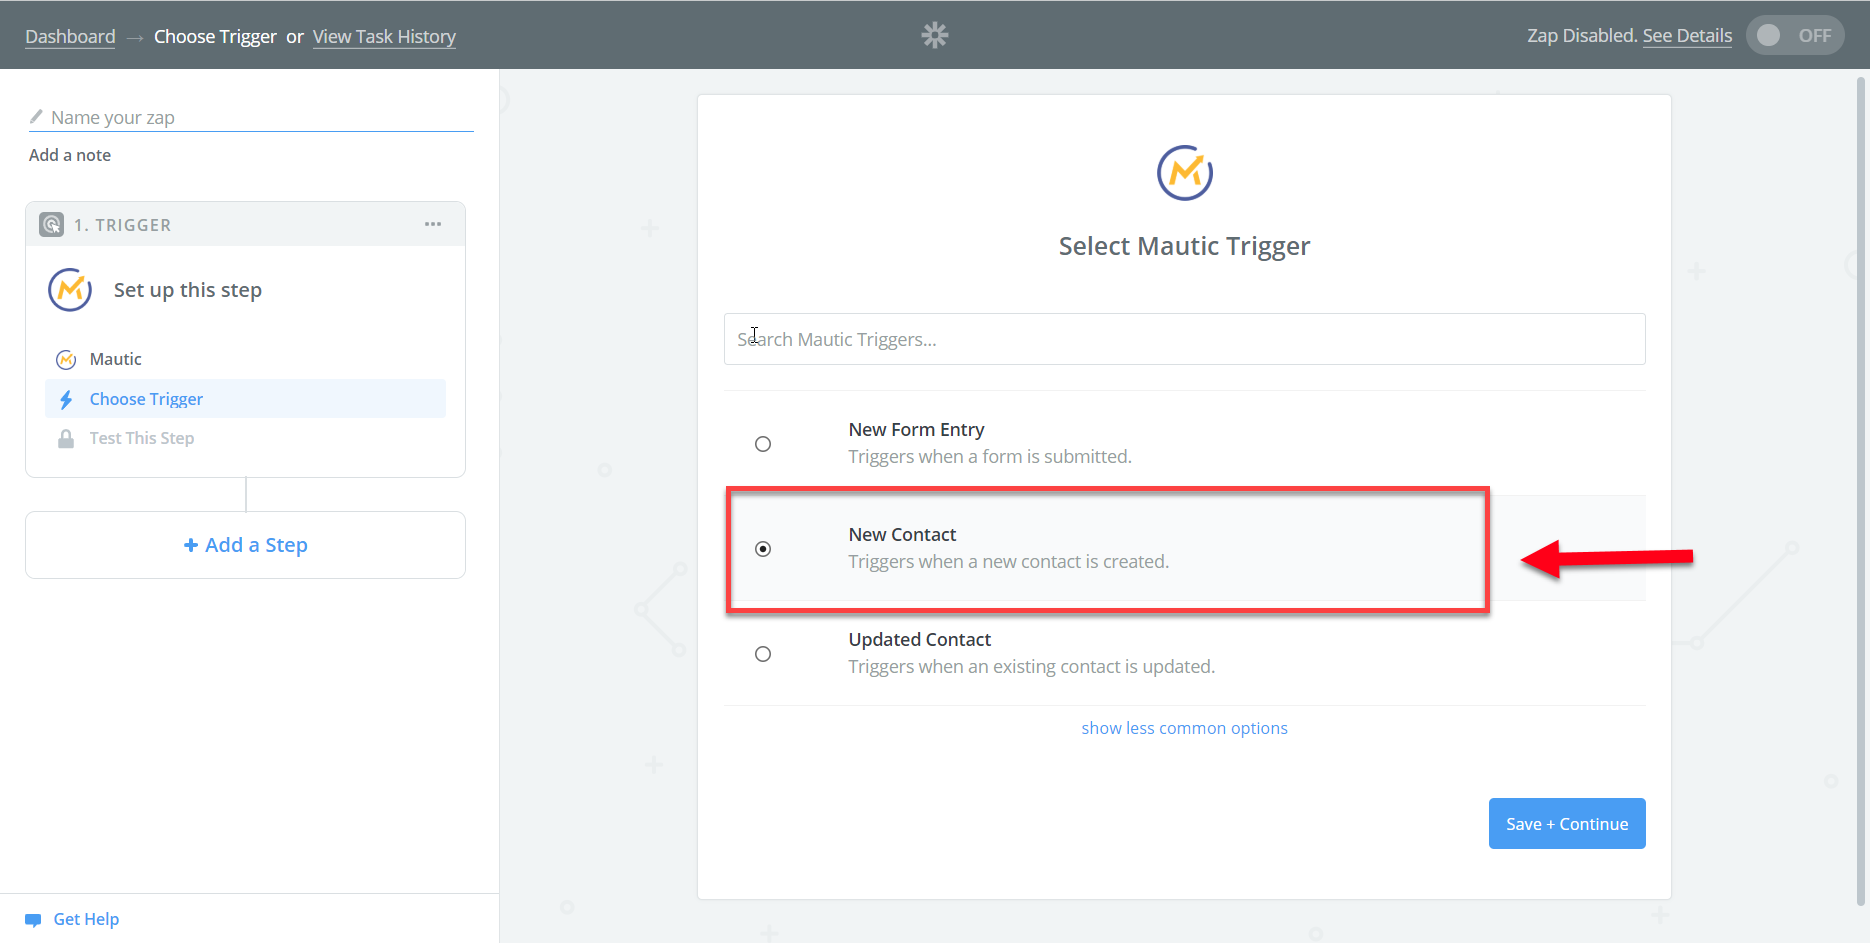
Select New Contact as Trigger, then click on Save & Continue button.
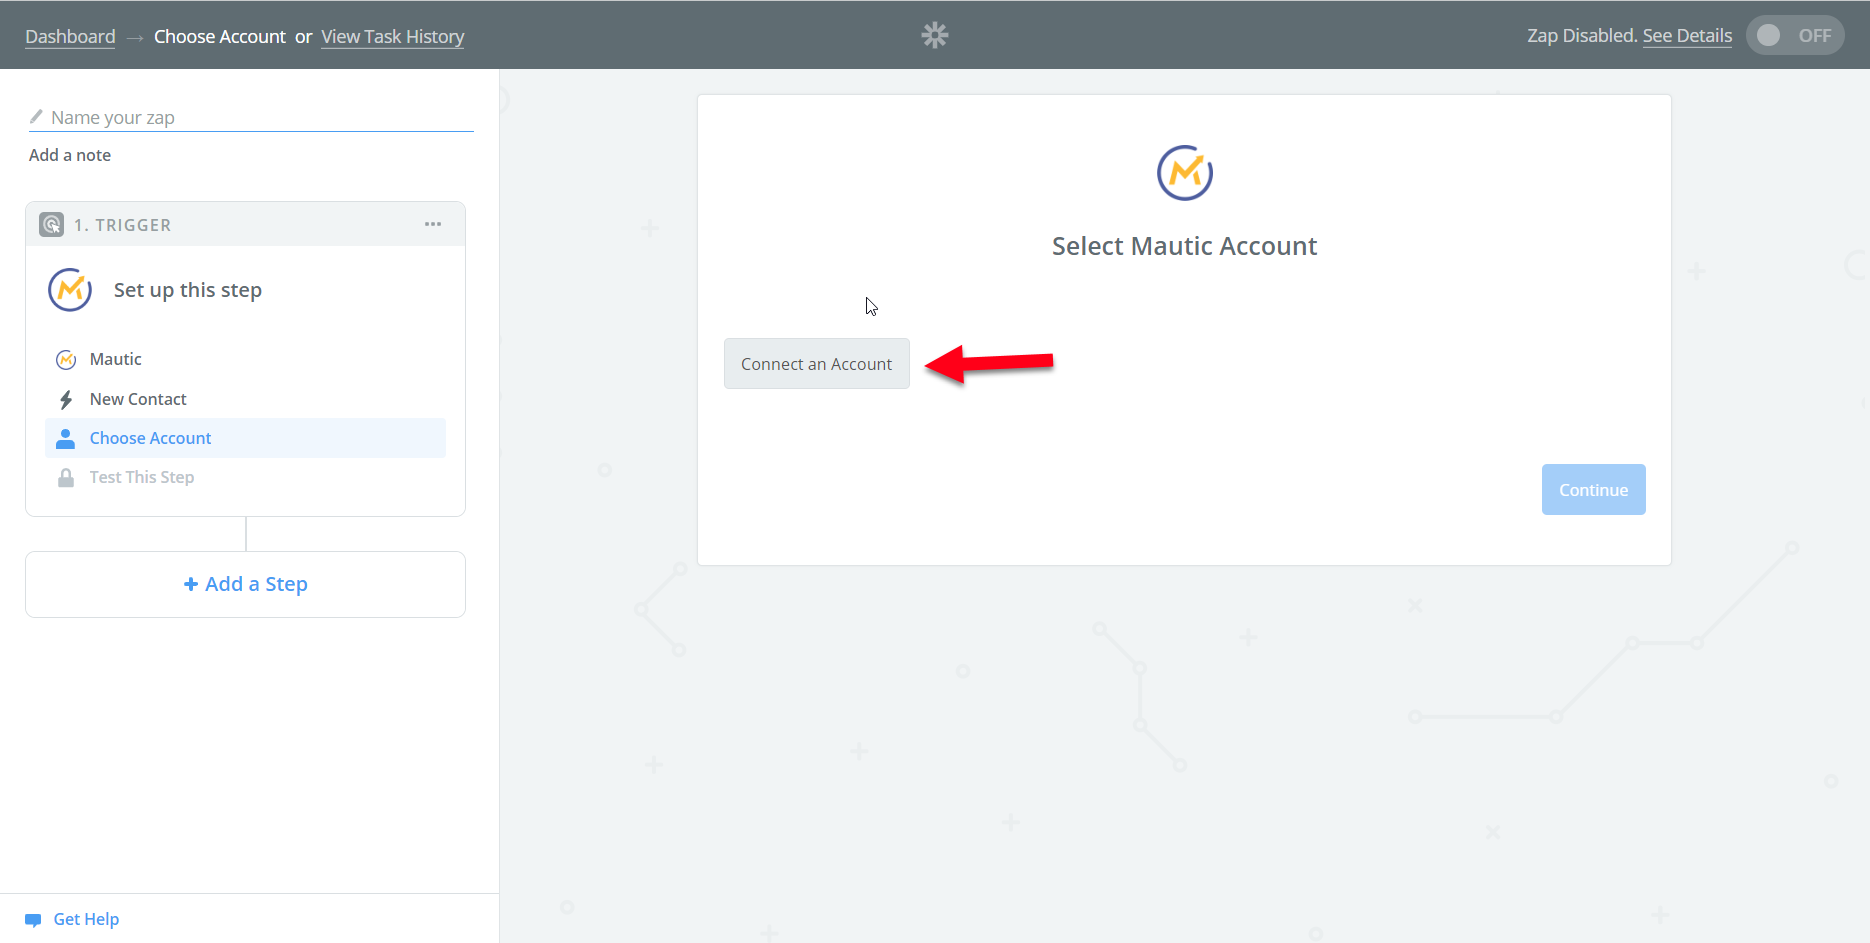
Connect to your Mautic Account, & click on Continue button.
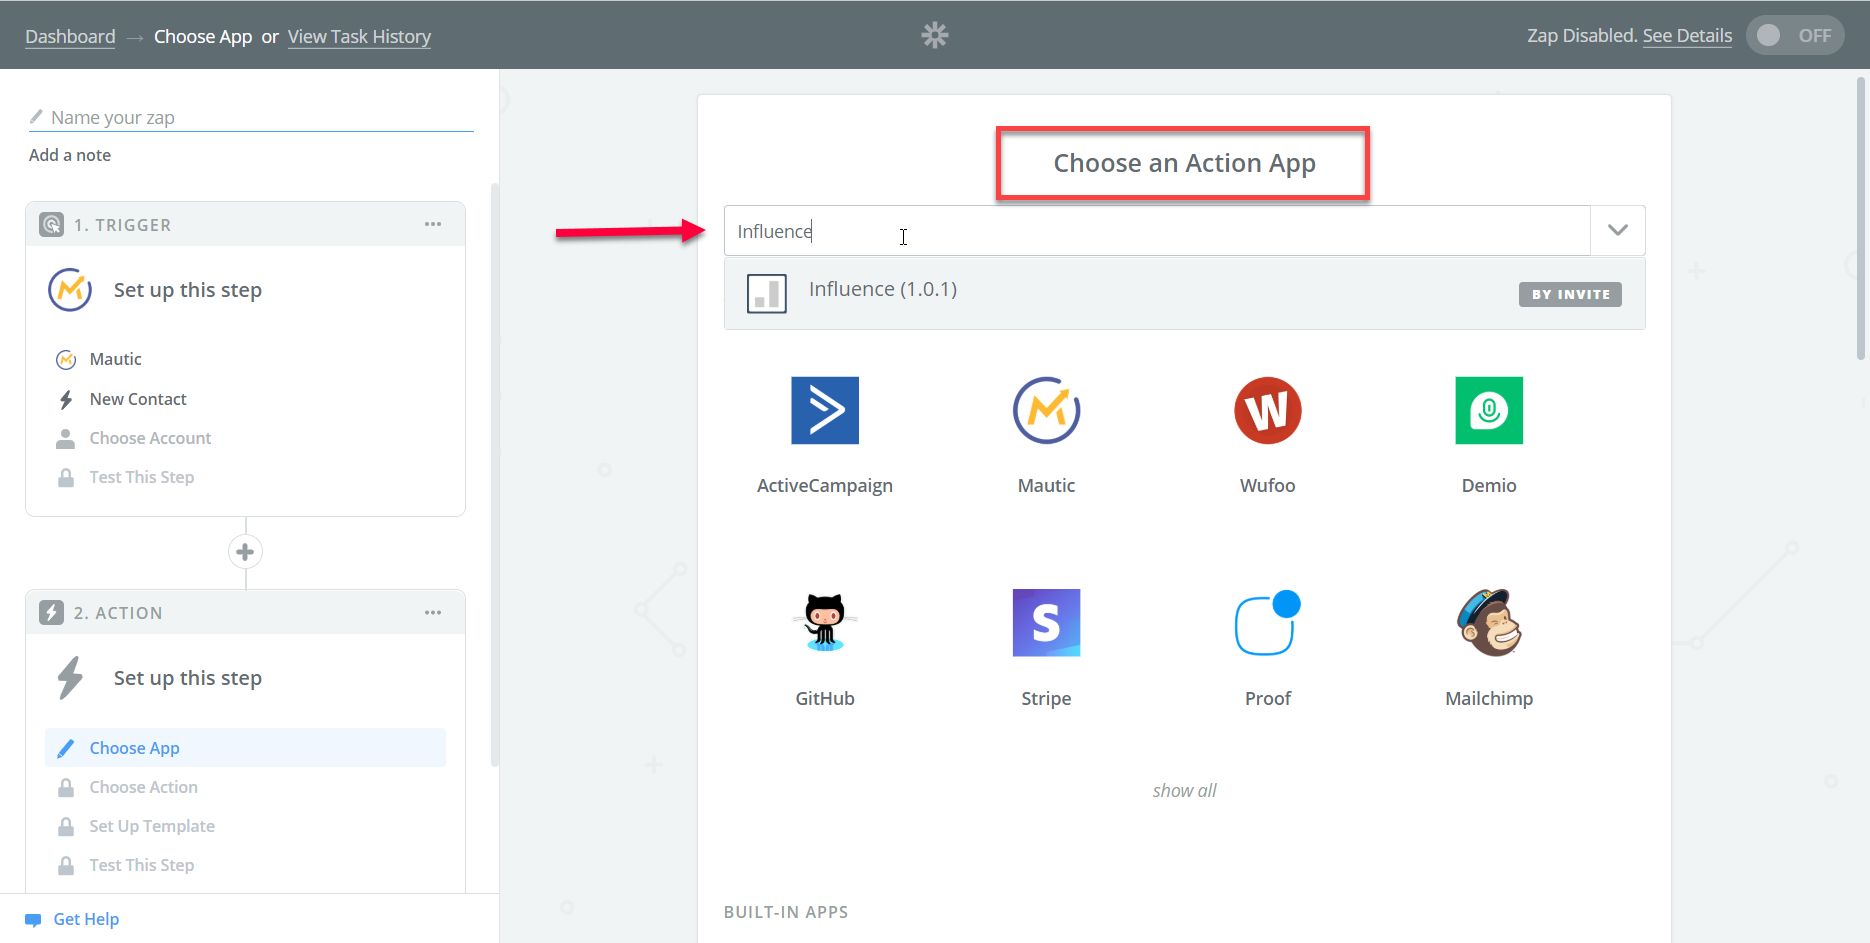
Choose Influence as an Action App. Please choose the most recent version 1.0.5
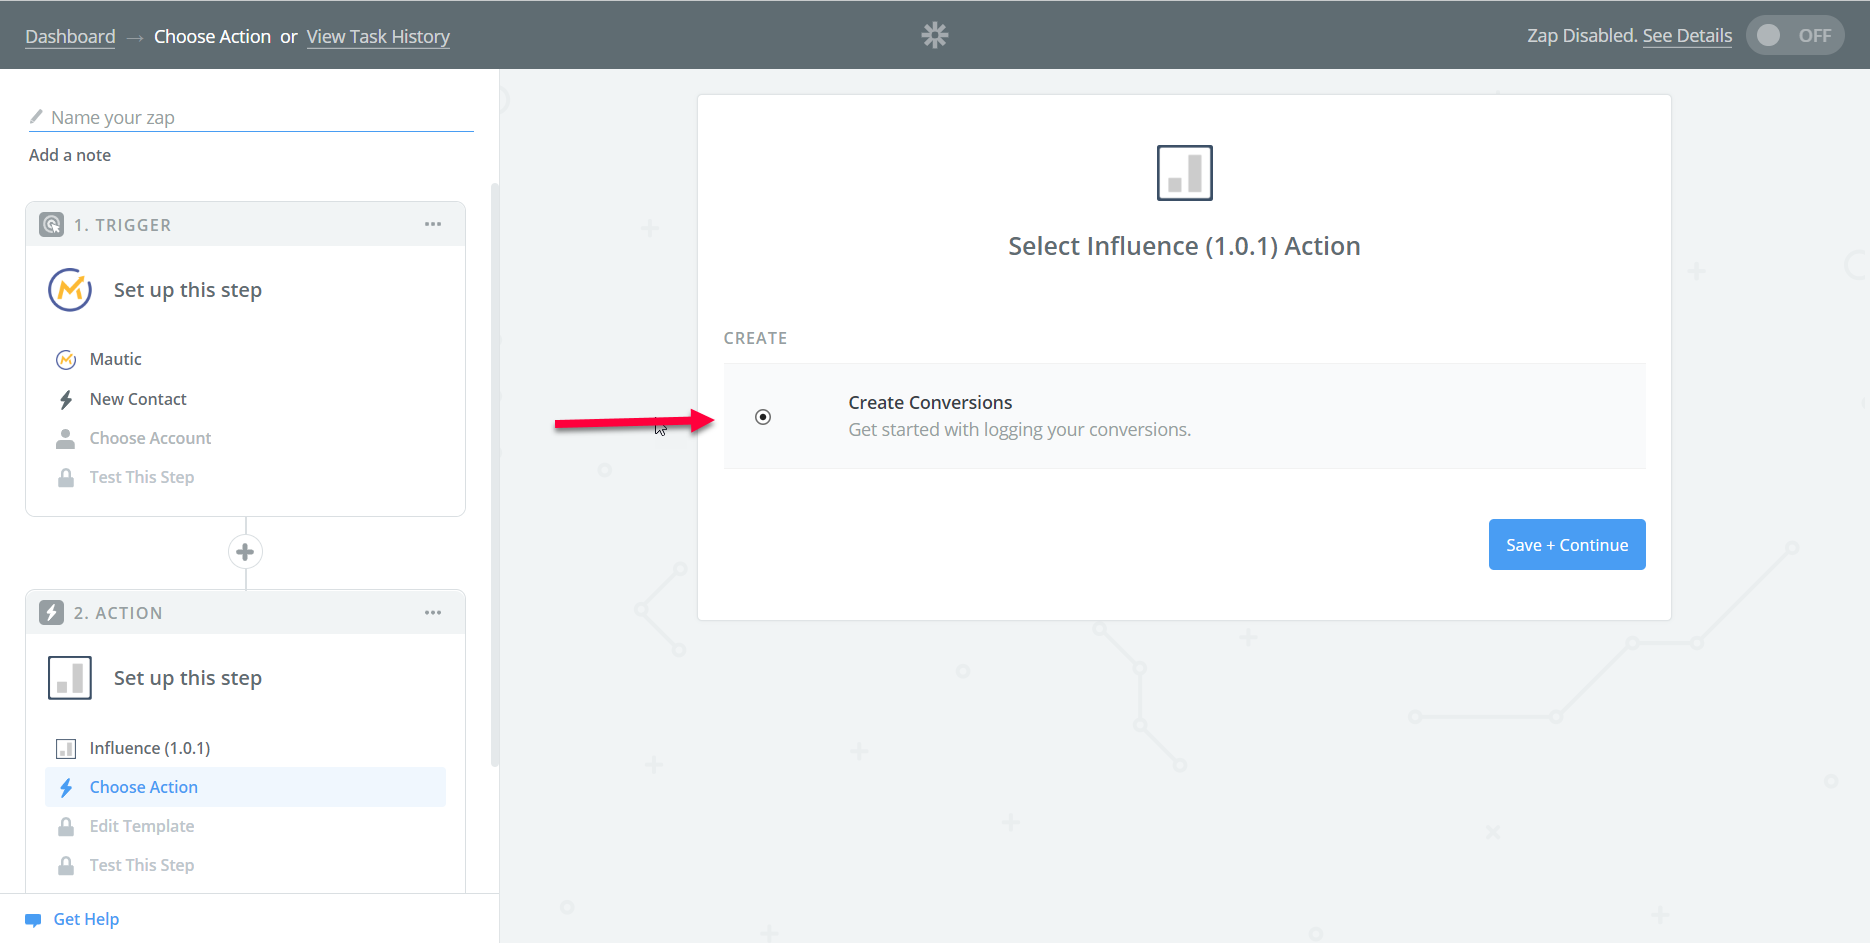
Select Create Conversions as an Action, & click on Save & Continue button.
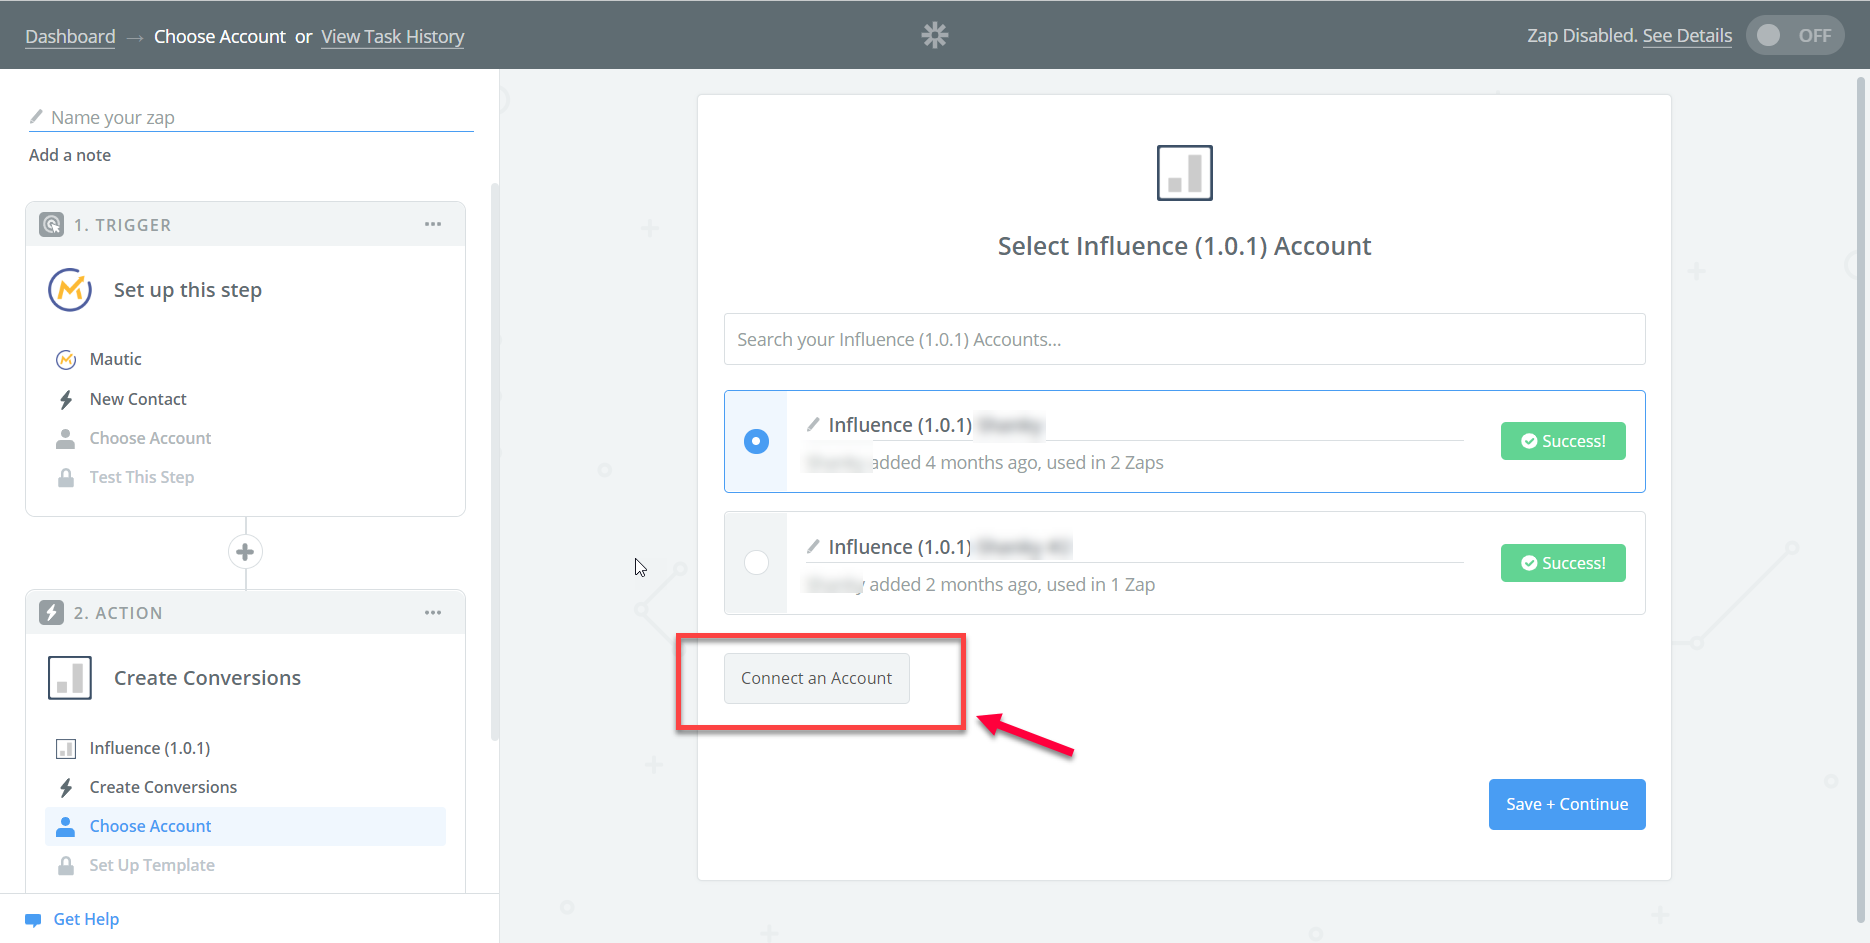
Click on the below button & connect to your Influence account.
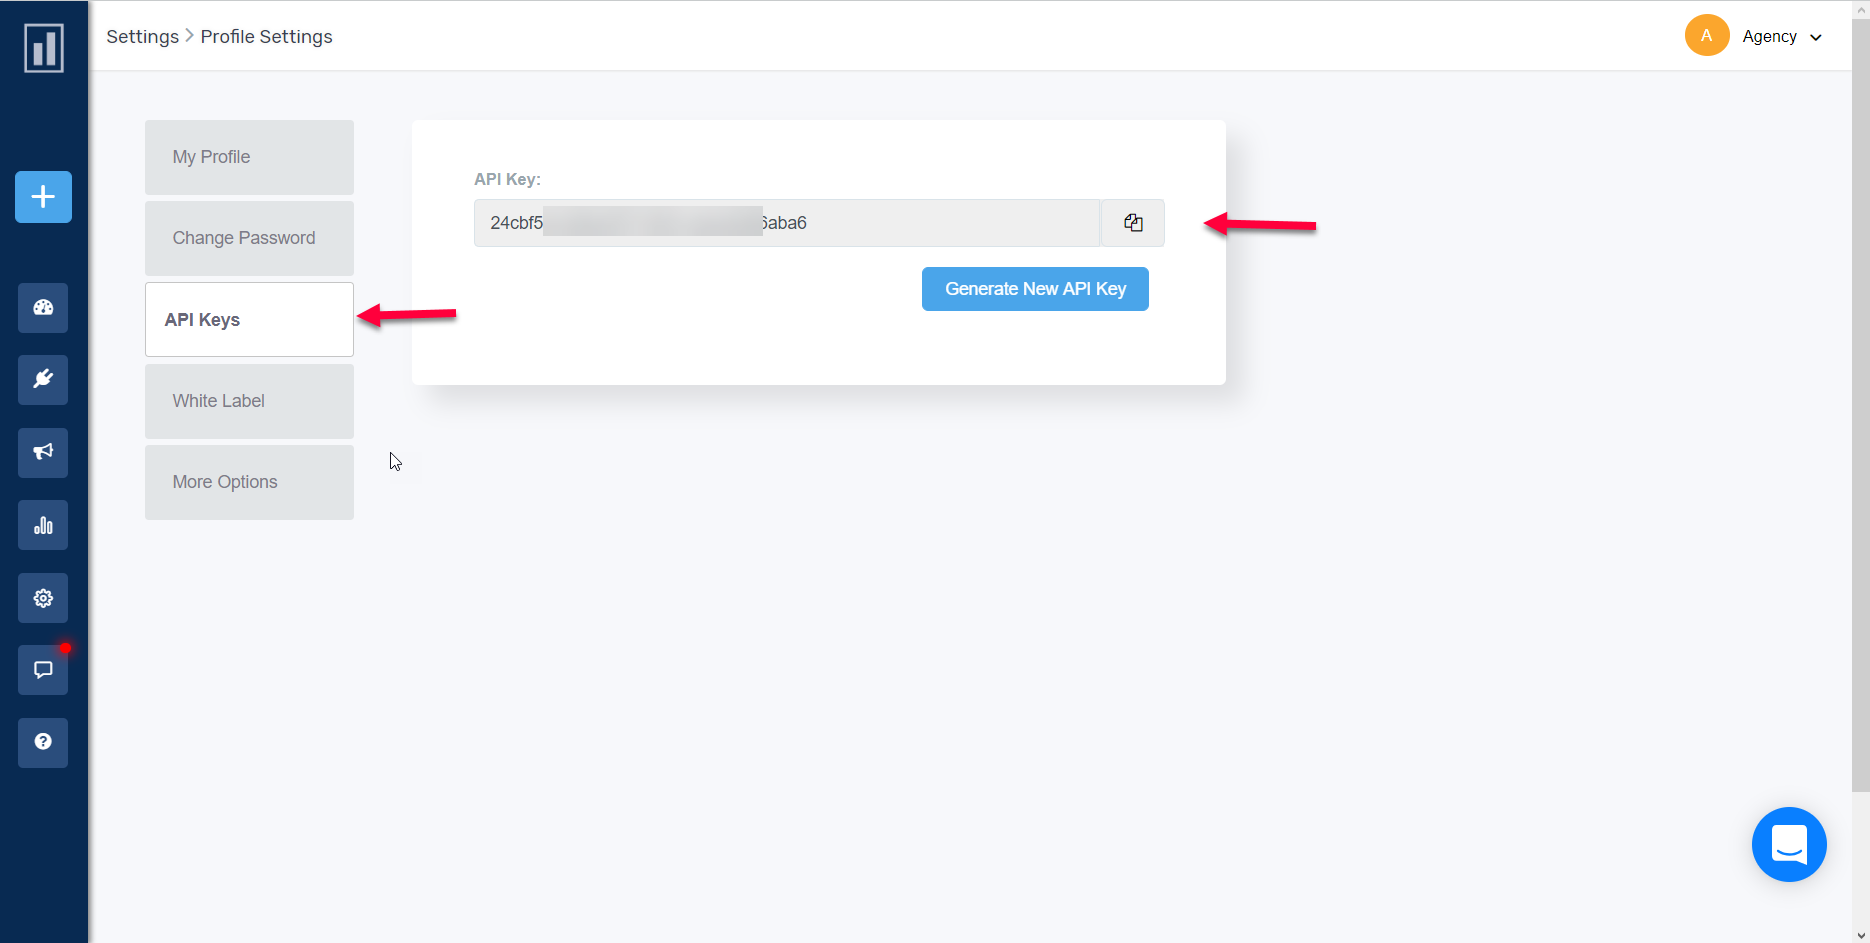
During Influence account validation process, you will be prompted for an API key, Copy your API key from Profile Settings area of your dashboard as shown below:
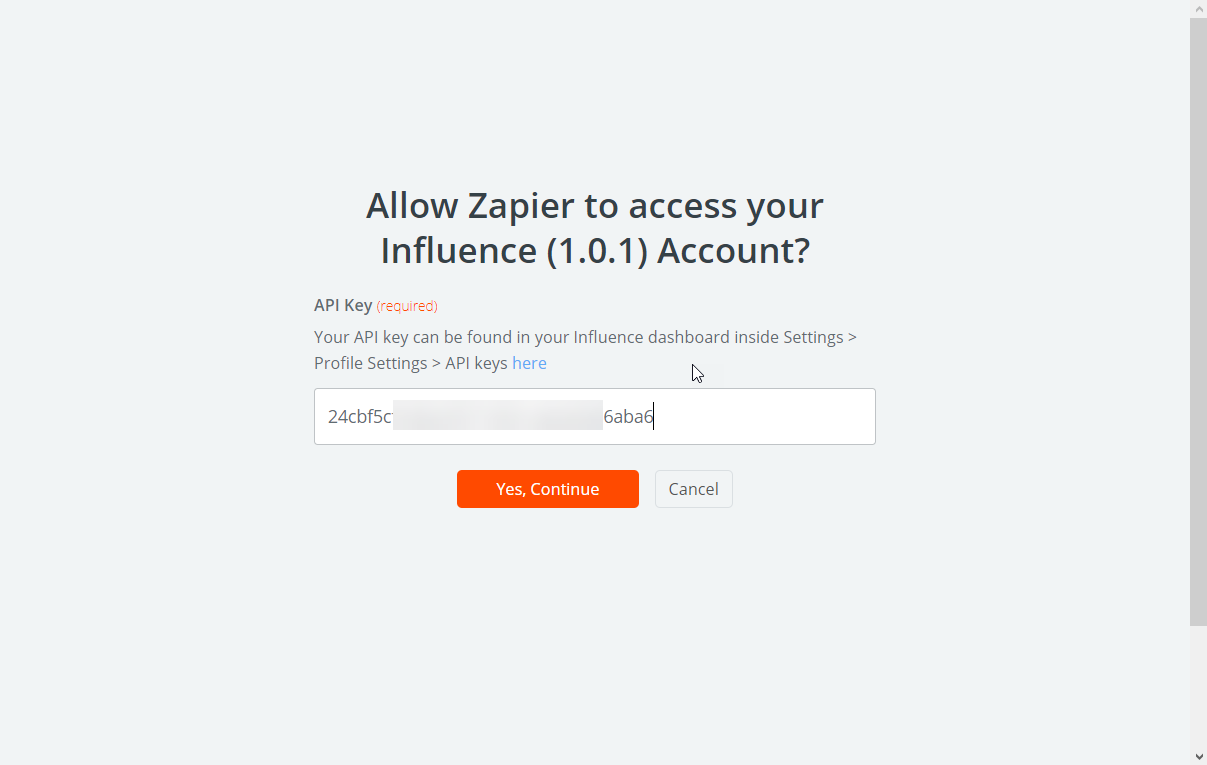
Paste your API key & continue.
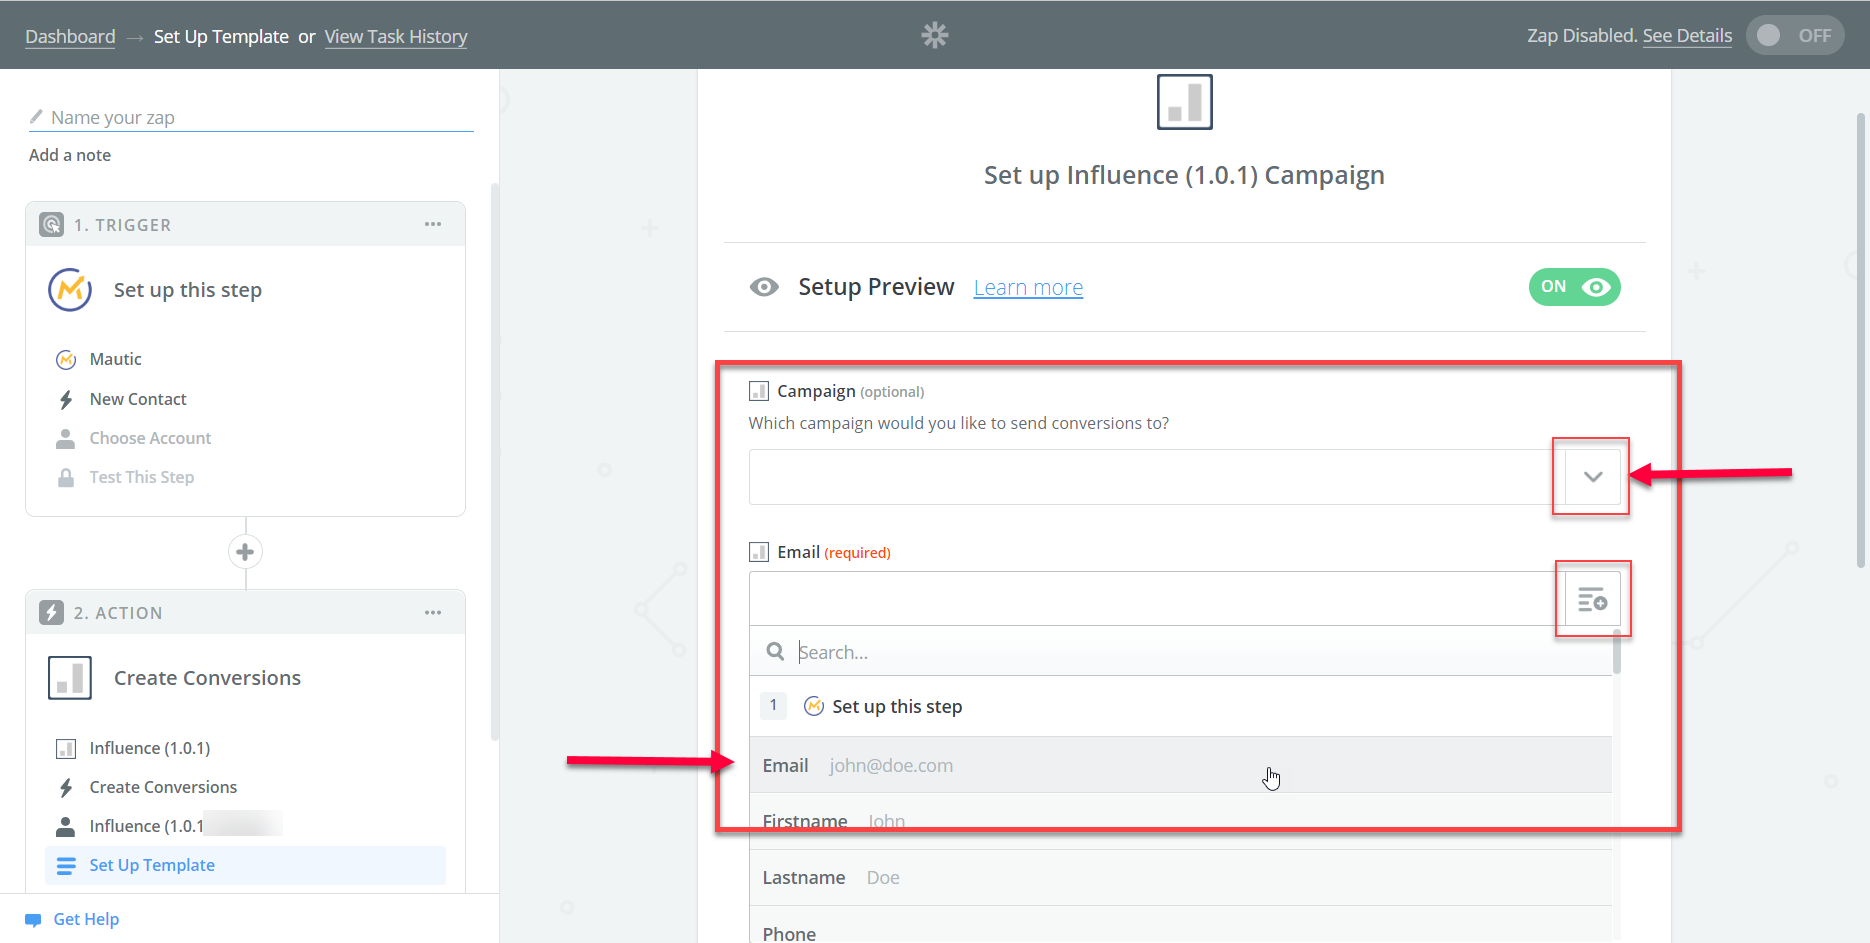
Fill in the below fields by selecting from the dropdowns.
- Campaign (required) - Select the respective Campaign from the dropdown menu.
- Email (required) - Select Email Id value from the dropdown.
- Similarly select other field values from their respective dropdown menus.
{Note:- Although many fields are optional, we still recommend you to set their respective values for better analytics.}
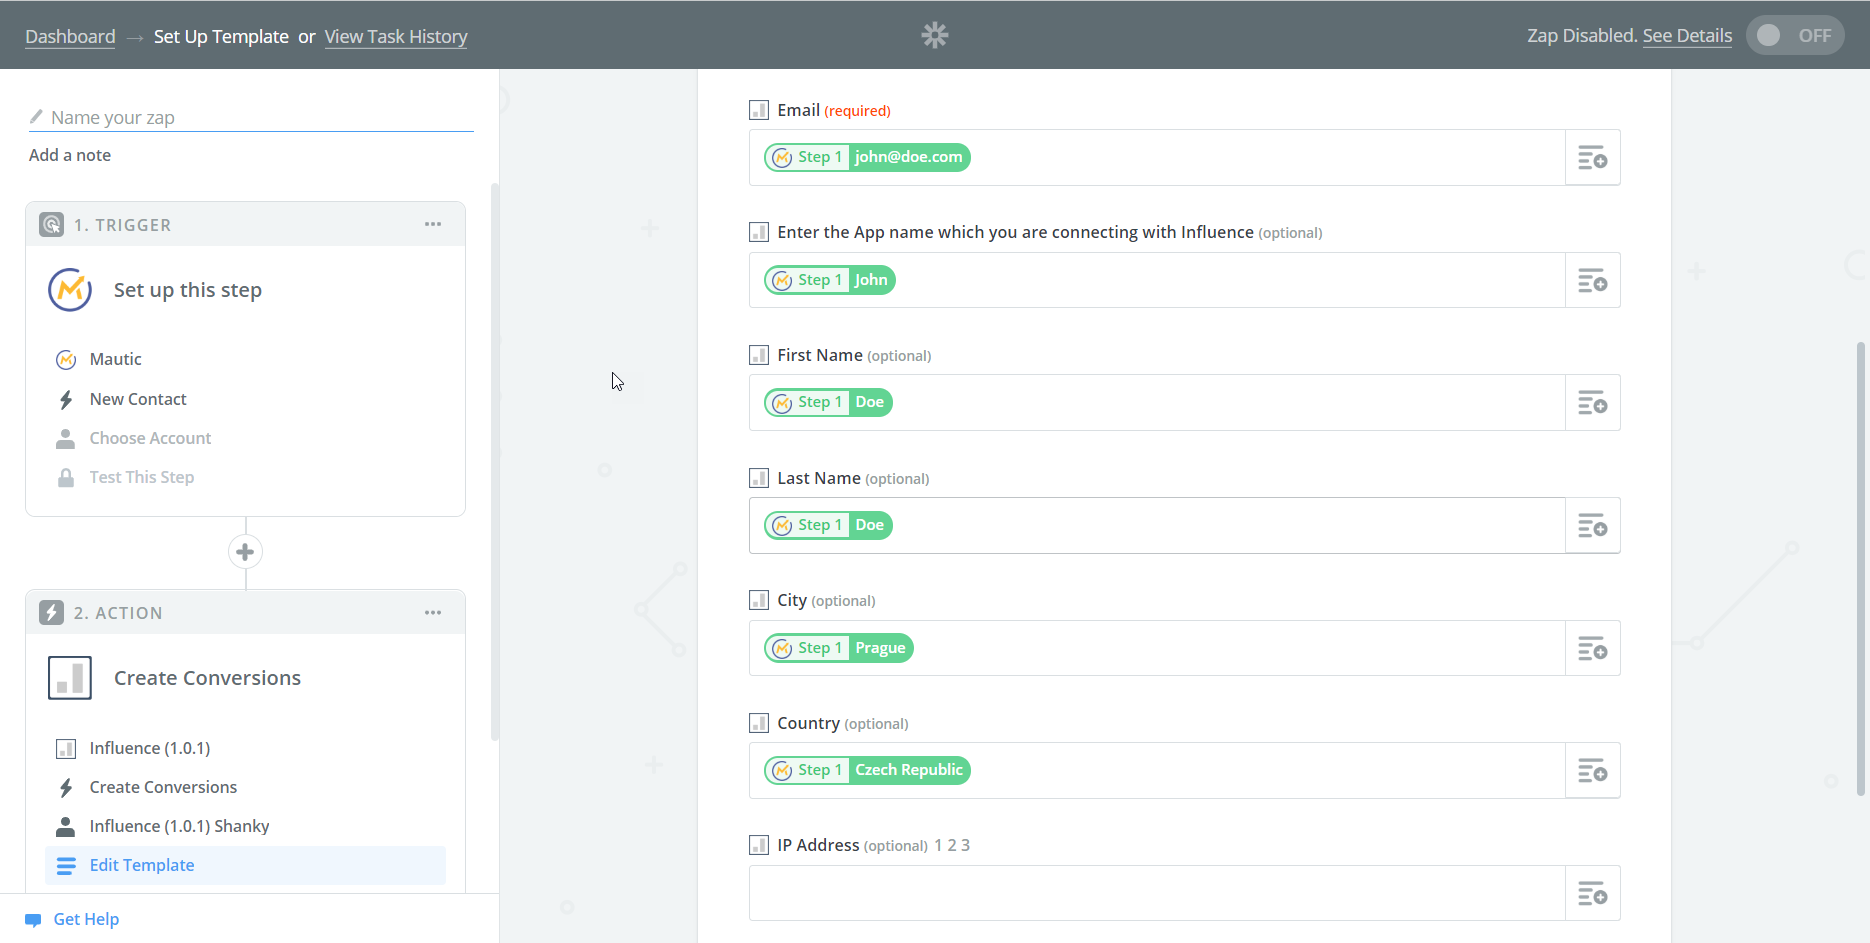
Your form will look like this after you are done, Click on Continue button.
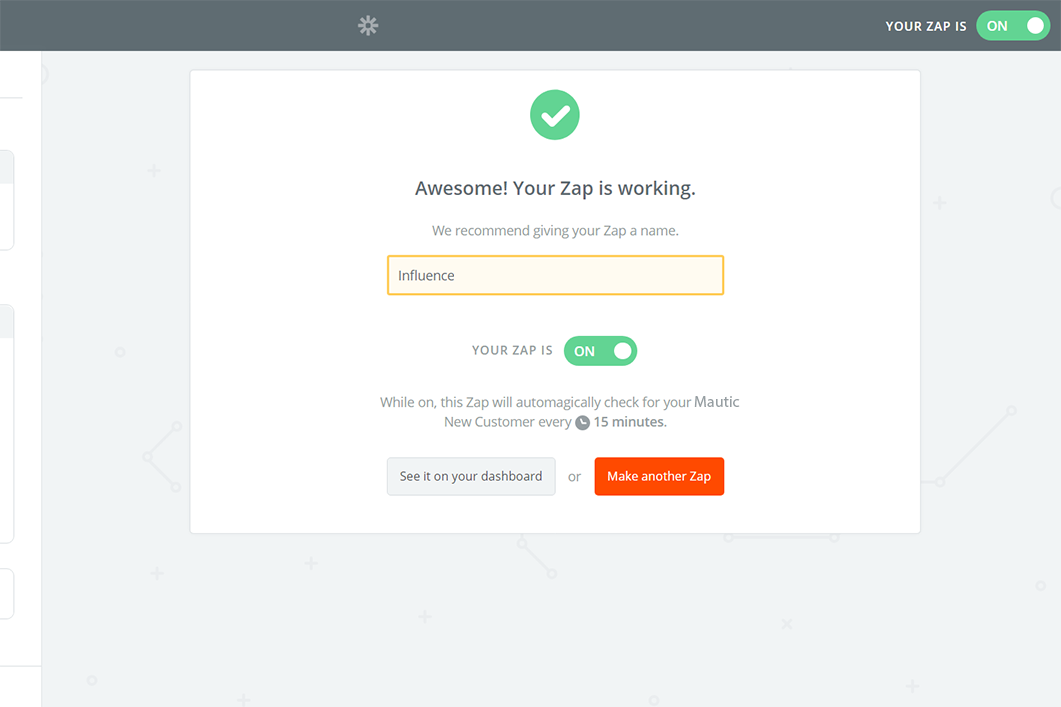
After testing & finishing up the above process you will see the below screen.
Name your Zap and Toggle it to On.
All set & done with the Zap?
Now you can see the data flowing into your campaign, which will be shown on your Recent notifications.
If you're still facing any issues, then you can contact us through the support section, & we'd be more than happy to assist you with it.