
Integrate with ClickFunnels {Pixel + WebHook Installation}
ClickFunnels is an online platform for creating funnels and selling course and other online products. Integrating it with Influence & running social proof notifications can be done in a few minutes.
But before you integrate the WebHook, you need to ensure that the pixel is pasted in your ClickFunnels funnel/page where you want to display the notification.
First you need to install the pixel in the ClickFunnels <head tag> area.
Without installing the pixel you'll not be able to get the ClickFunnel integration working for your funnels/page.
So let's first install the Pixel.
Step 1. Copy your Influence Pixel.
Inside your Influence dashboard, Go to Install Pixel page and Copy your unique Pixel code.
To know more about how to copy the pixel please click here to learn more.
Step 2. Pixel Installation on ClickFunnels.
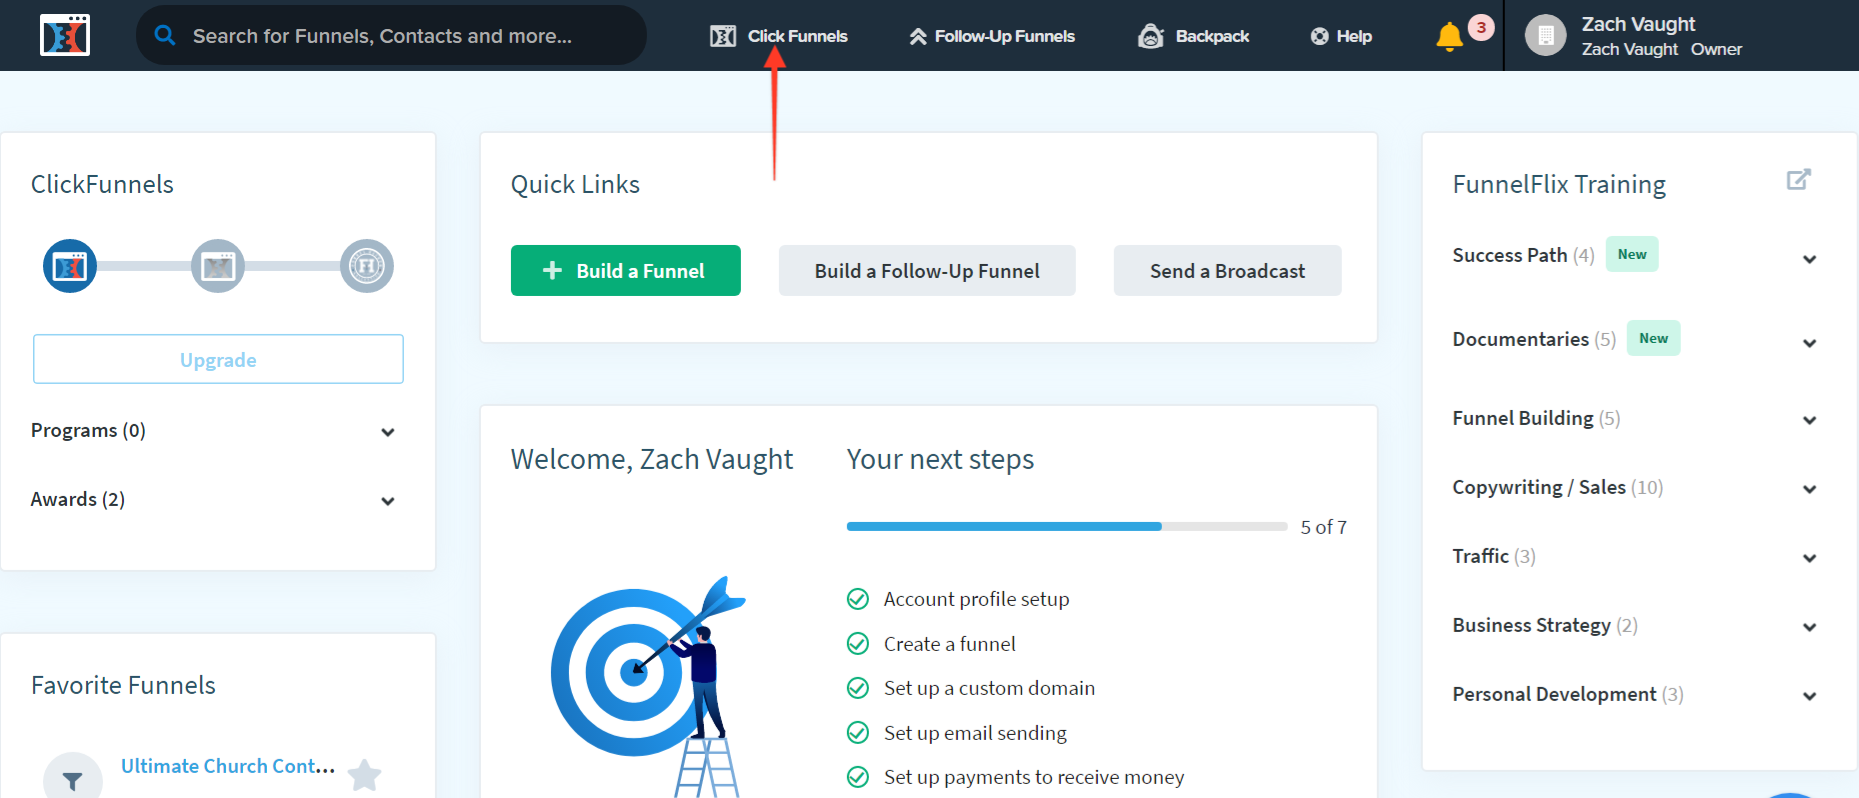
- Click on Click Funnels dropdown & select any funnel you want to connect.

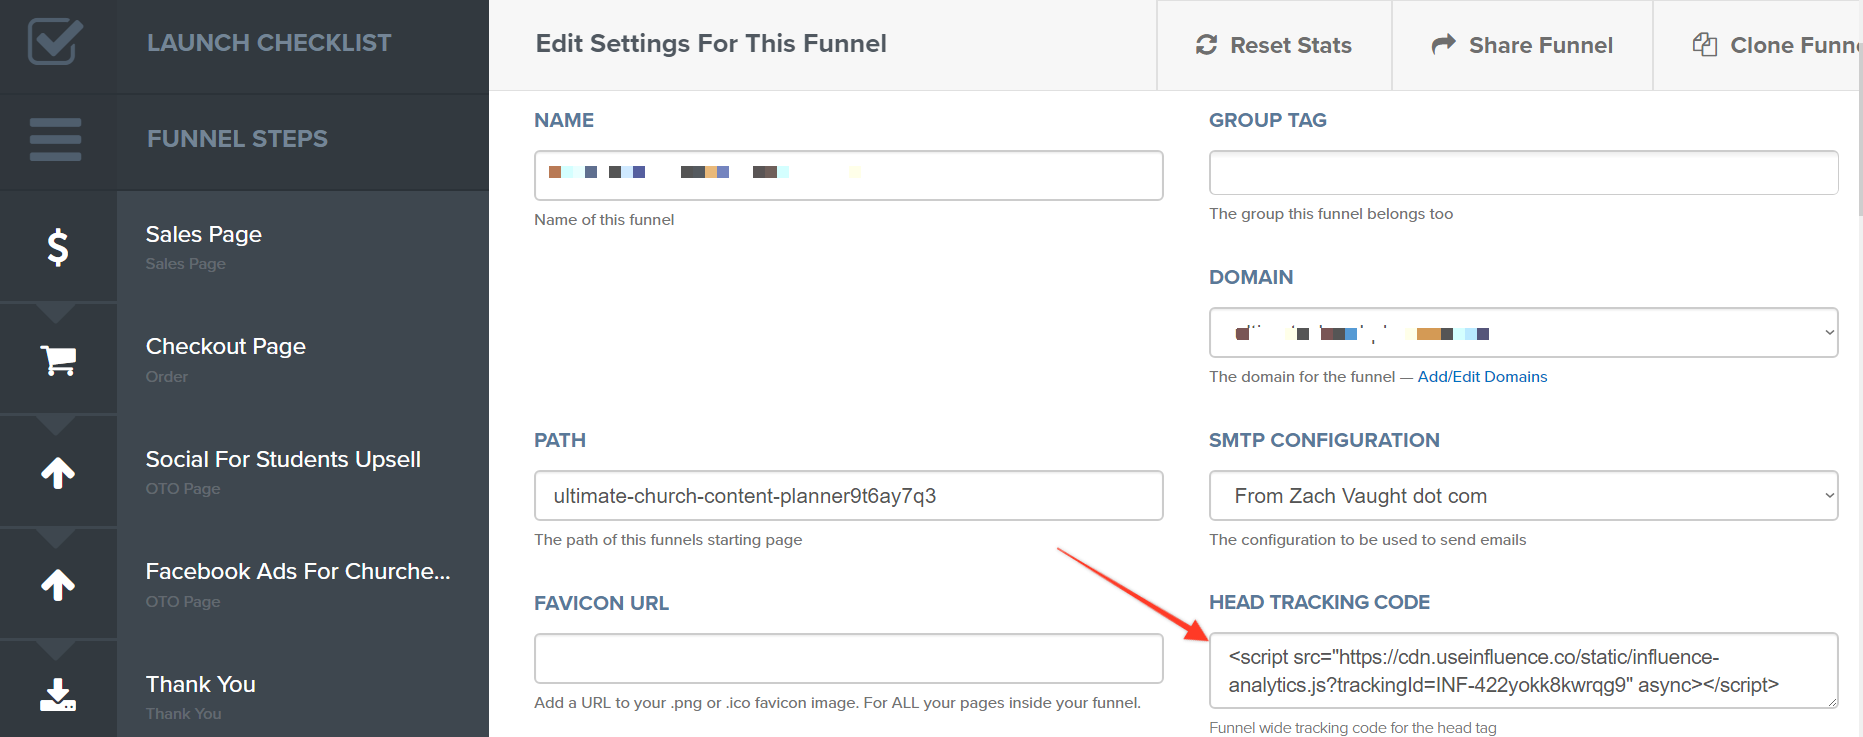
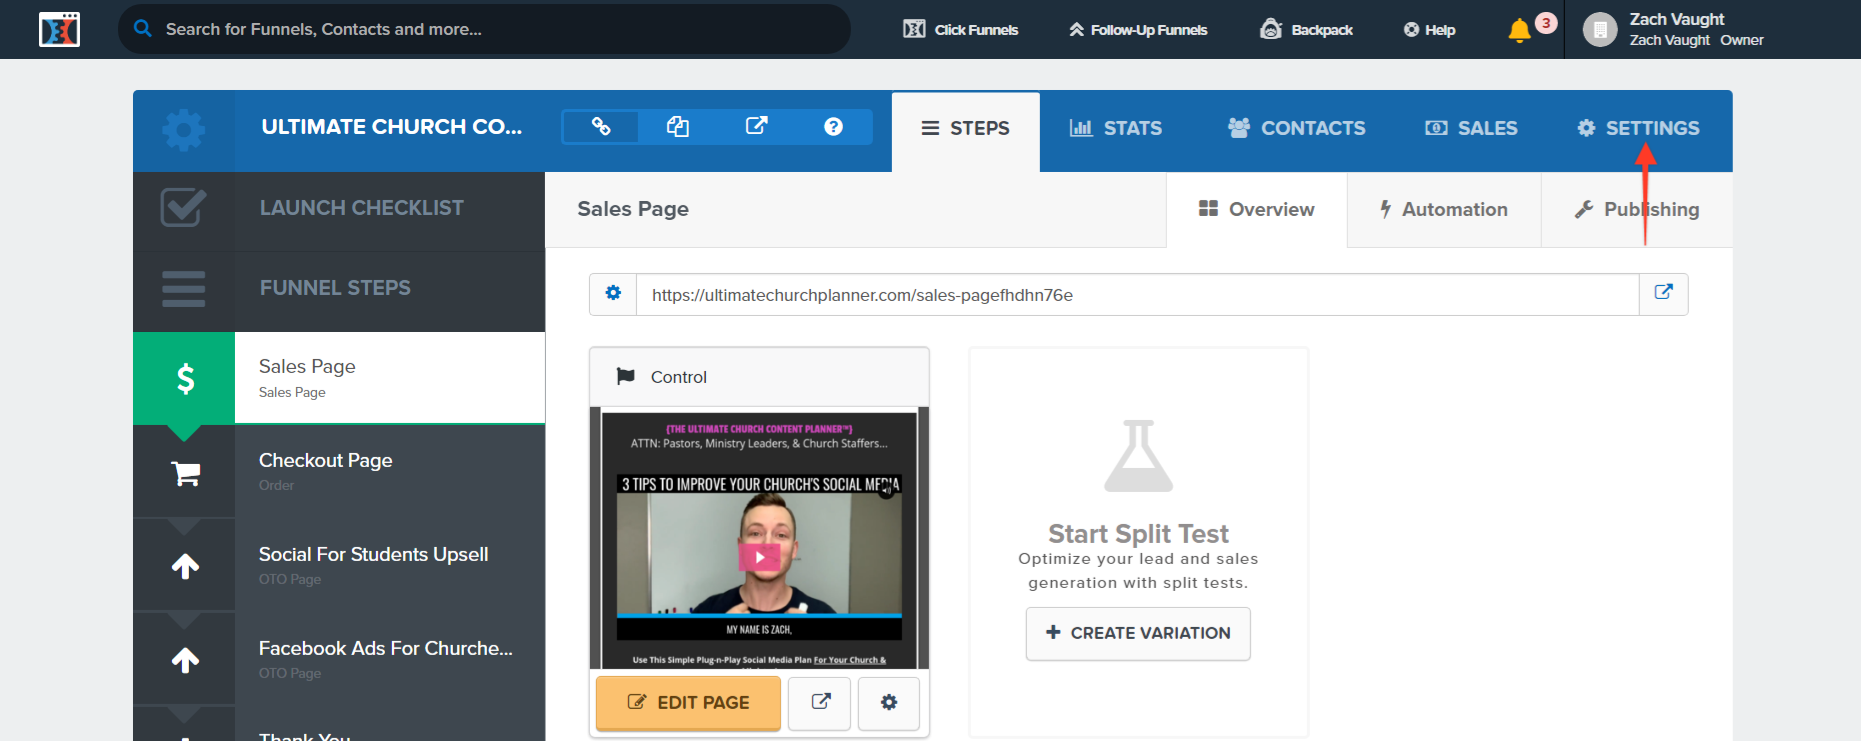
- Click on the Settings button on the top-right corner.

- Paste your Influence Pixel inside Head Tracking Code section.
Step 3. Create your campaign.
Once you are done with the above installation process, you can make a New Campaign & start running Influence notifications to boost conversions.
{Note: You have to integrate one funnel at a time if you have multiple funnels.}
To learn more on how to create a campaign please click here to learn the process.
Step 4. Generate a unique ClickFunnel WebHook URL.
Go to the relevant funnel where you've pasted the pixel. Complete the steps from 1 & 2 and go to the third step where you can connect the integration.
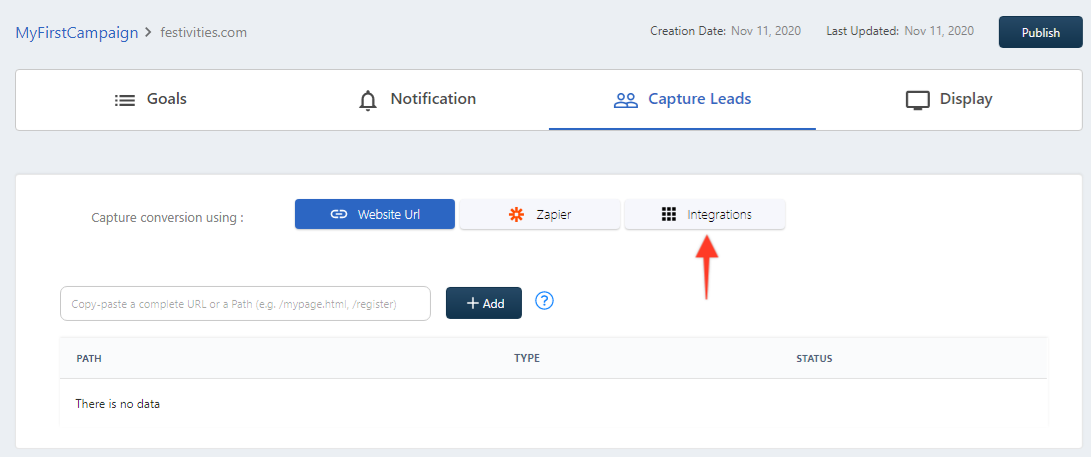
Go to your Campaign's Capture Page.
Go to the Integrations tab, and then click on SuperWebhook, and click on the Connect button.

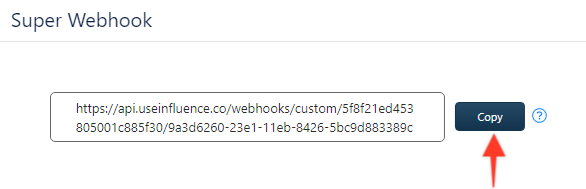
The following window will open. Copy the WebHook.
Step 5. Inside ClickFunnels Dashboard.
After you've copied the WebHook, then you need to install the click funnel WebHook URL endpoint that you've just copied.
You need to go to the same funnel where you copied the pixel.
Click on Click Funnels dropdown & select the same funnel.
Click on the Settings button on the top-right corner.
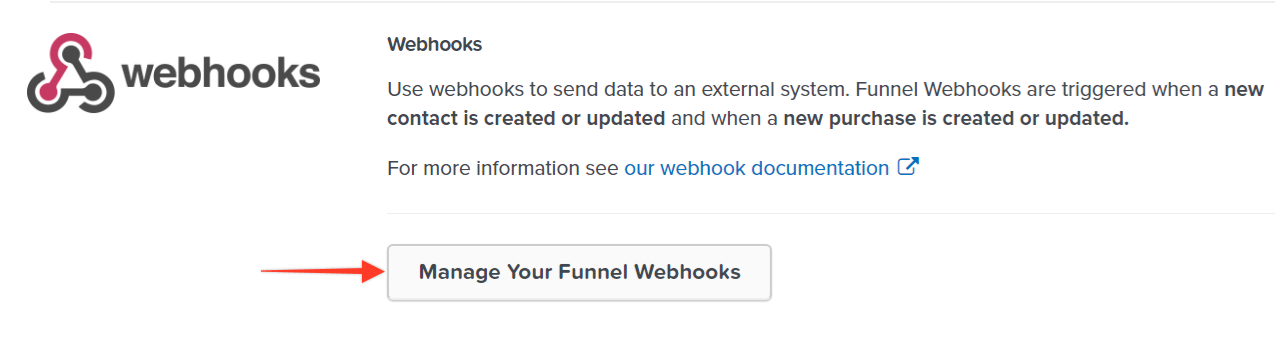
and then Scroll down on the same window, & on the WebHooks section click on Manage Your Funnel WebHooks button.
Fill up the fields as per below picture (ClickFunnels WebHook URL will be pasted in '1)'
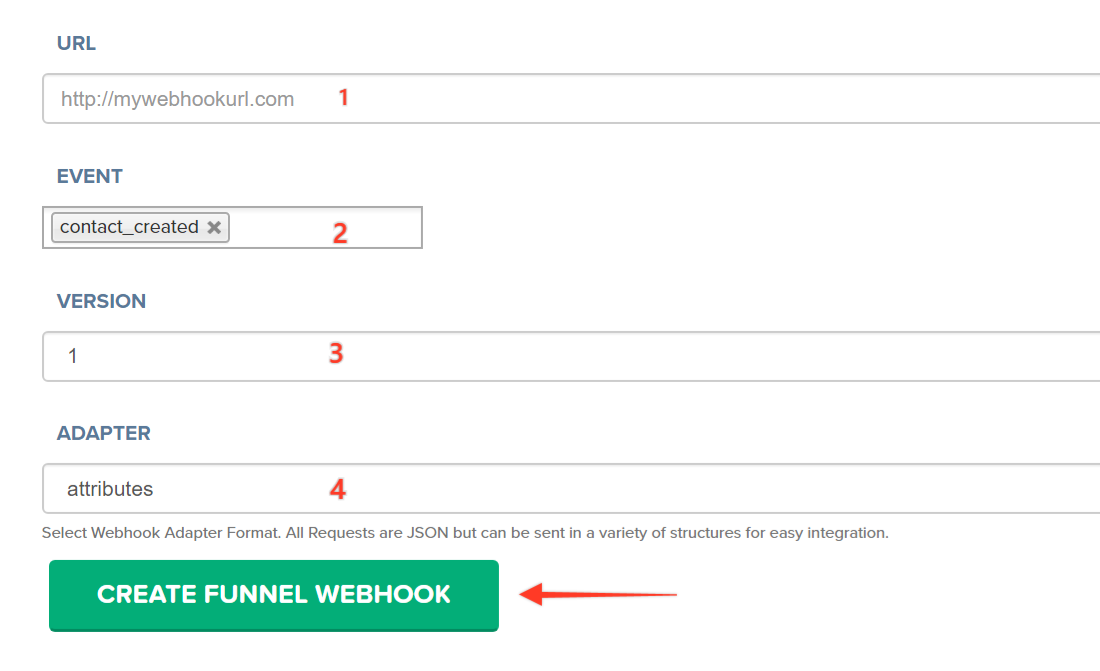
- Finally, click on Create Funnel WebHook button to complete the integration.
Do some test signups to check the data flow into your campaign.
IMPORTANT
Scenario 1 : Website is built on ClickFunnels, and your email signup data is also maintained in ClickFunnels : In that case following the aforesaid process will do.
Scenario 2 : Website is built on ClickFunnels and your email signup data is maintained in some other application like MailerLite or MailChimp : In such cases in addition to the aforesaid process, you will also have need the integration with MailChimp or the respective email application done.
Scenario 3 : Website is built on Wordpress or other technology and the email signup data is maintained in ClickFunnels. In such cases, the Pixel has to be installed on your website as well as on your ClickFunnels page. Integration with ClickFunnels will be required if you want the conversions to be displayed as notifications.
If you're still facing any issues, then you can contact us through the support section, & we'd be more than happy to assist you with it.